Wildfire Ready
Wildfire Ready
No one thing reduces risk completely―the solution requires a system.
Follow this series of steps to reduce your home’s risk.
Explore the path to getting your home ready for the next wildfire.
Research has shown there are clear steps you can take to give your home a much better chance of surviving an encounter with wildfire. This guide provides four sets of steps that are grouped to provide the most impact for the time and cost involved. Get started today and be Wildfire Ready.
Start Here!
While there are many things you can do to help protect your home from wildfire, these critical actions are essential to making a meaningful reduction in your risk. Together, these steps are the most important and can begin to give your home the best chance of survival. Do these first!
Make sure your roof is fire-rated
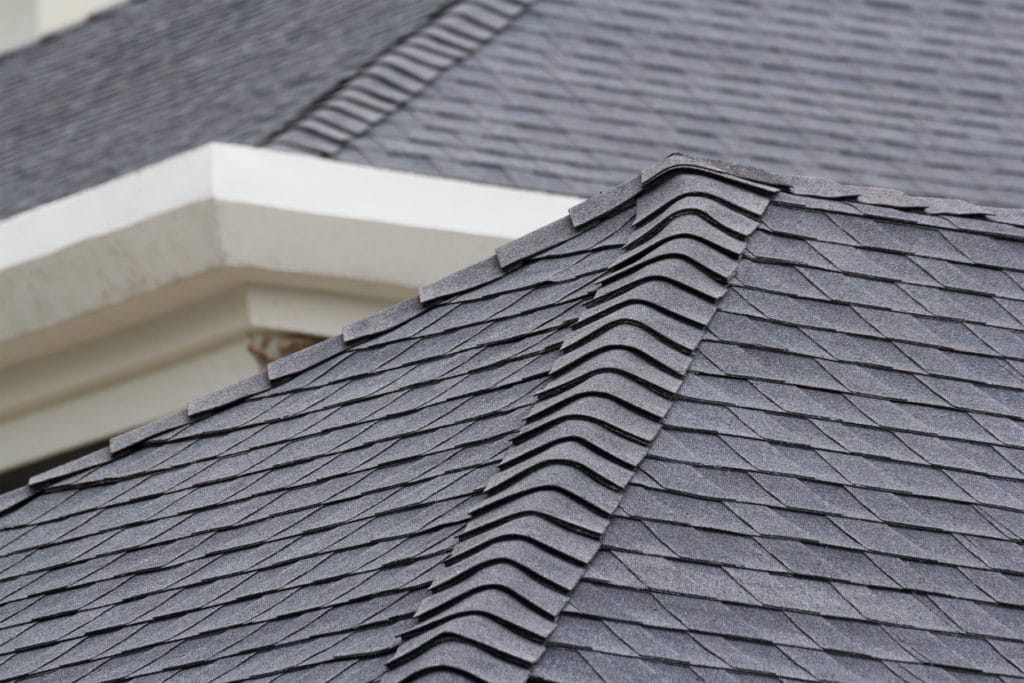
Roofs are rated Class A to Class C based on their fire resistance with Class A providing the most protection from fire. Some roofs are not rated for protection against fires. If your roof is unrated, or if you are considering replacing your roof, re-roof with a Class A-rated roofing material.*
- Nearly all asphalt shingles currently on the market are Class A fire-rated. Three-quarters of all homes in the United States have a Class A asphalt shingle roof.
- Clay and concrete tile roofs are Class A.
- If you have a tile roof, bird-stop open ends of tiles at the roof edge to reduce vulnerability.
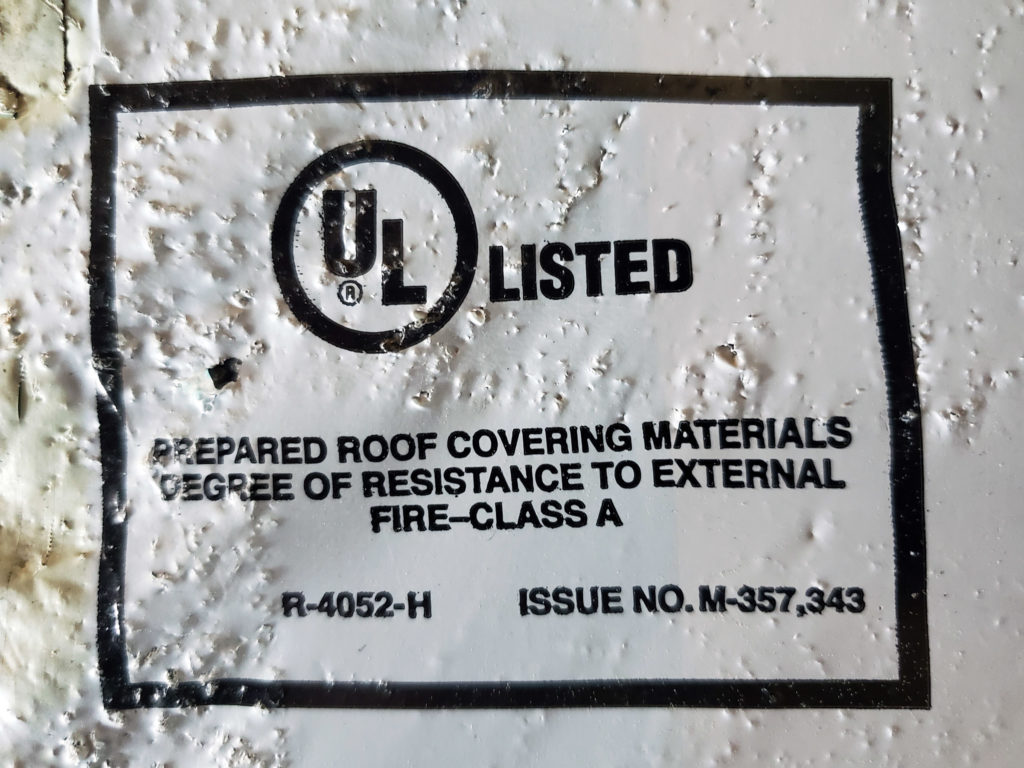
*Replacement cost of wood shake to asphalt comp class A roof: $10,000–$25,000
Create a buffer around your home (0-5 foot home ignition zone)
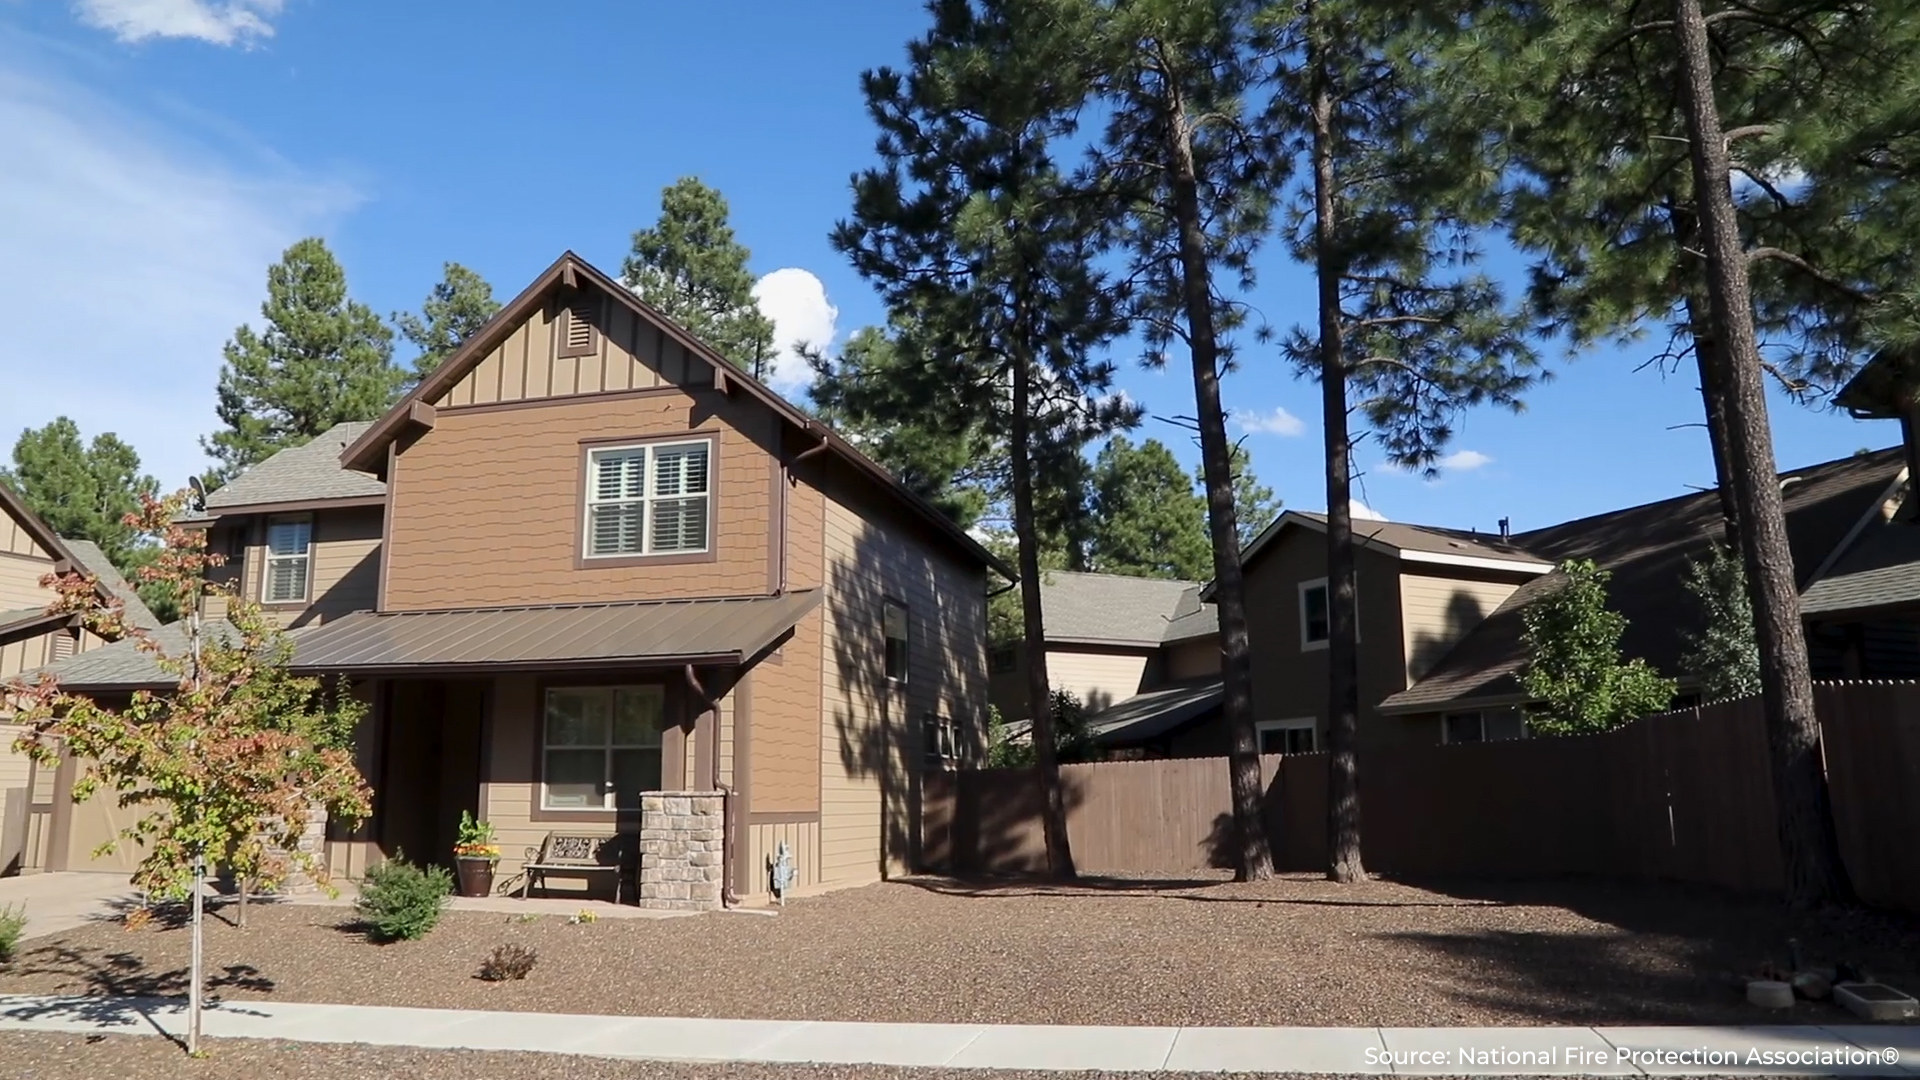
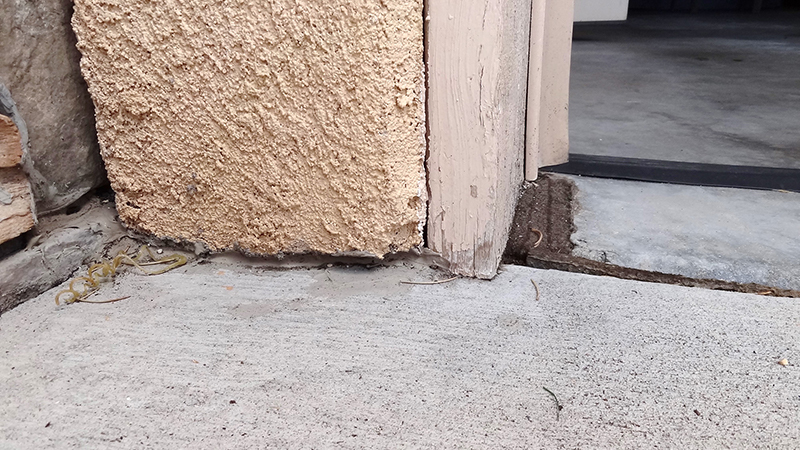
that doesn’t fully extend to the ground
Pay special attention to the 5 feet immediately around your home. This area should be designed and maintained to keep fire or embers from igniting materials in this area and spreading fire to your home. Ensure yard debris and dead plant material does not accumulate in this zone.
- Use hardscape like gravel, pavers, concrete, and other noncombustible mulch materials in this 5-foot zone around your home.
- While best practice is to have no vegetation, choosing limited use of CalFire-recommended vegetation will keep your risk low.
- Do not park boats, RVs, or other vehicles in this zone.
- Do not store firewood, outdoor furniture, or other items such as trash cans, pet houses, lawn tools, children’s playsets, etc., in this zone.
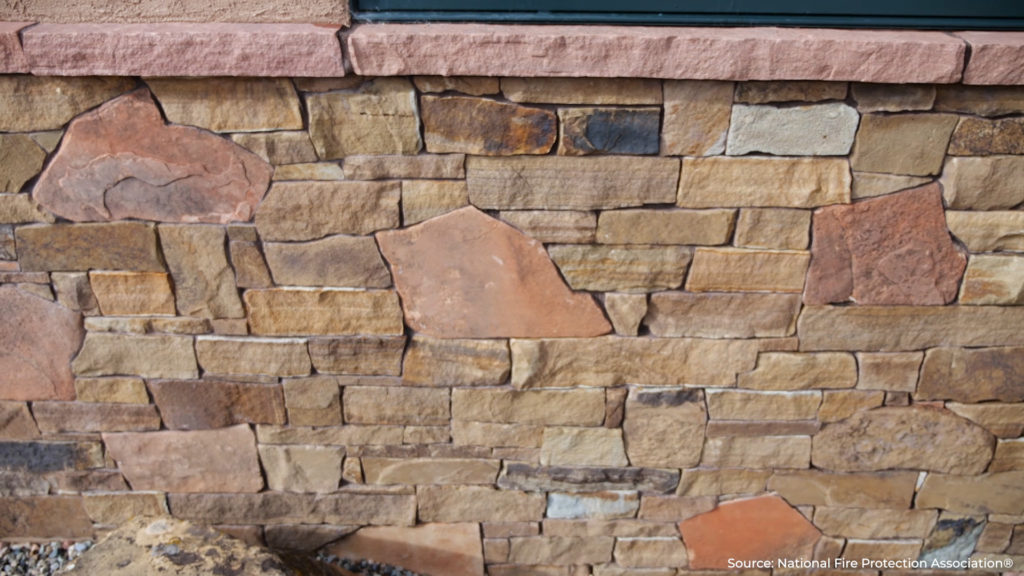
- Ensure that where the lowest 6 inches of the exterior wall meets the ground is covered with a noncombustible material such as brick, stone veneer, or exposed concrete of the foundation.
Landscape cost using a contractor: $3,000–$15,000 (labor included)
DIY material cost: $1,000–$5,000
Remove items under your deck
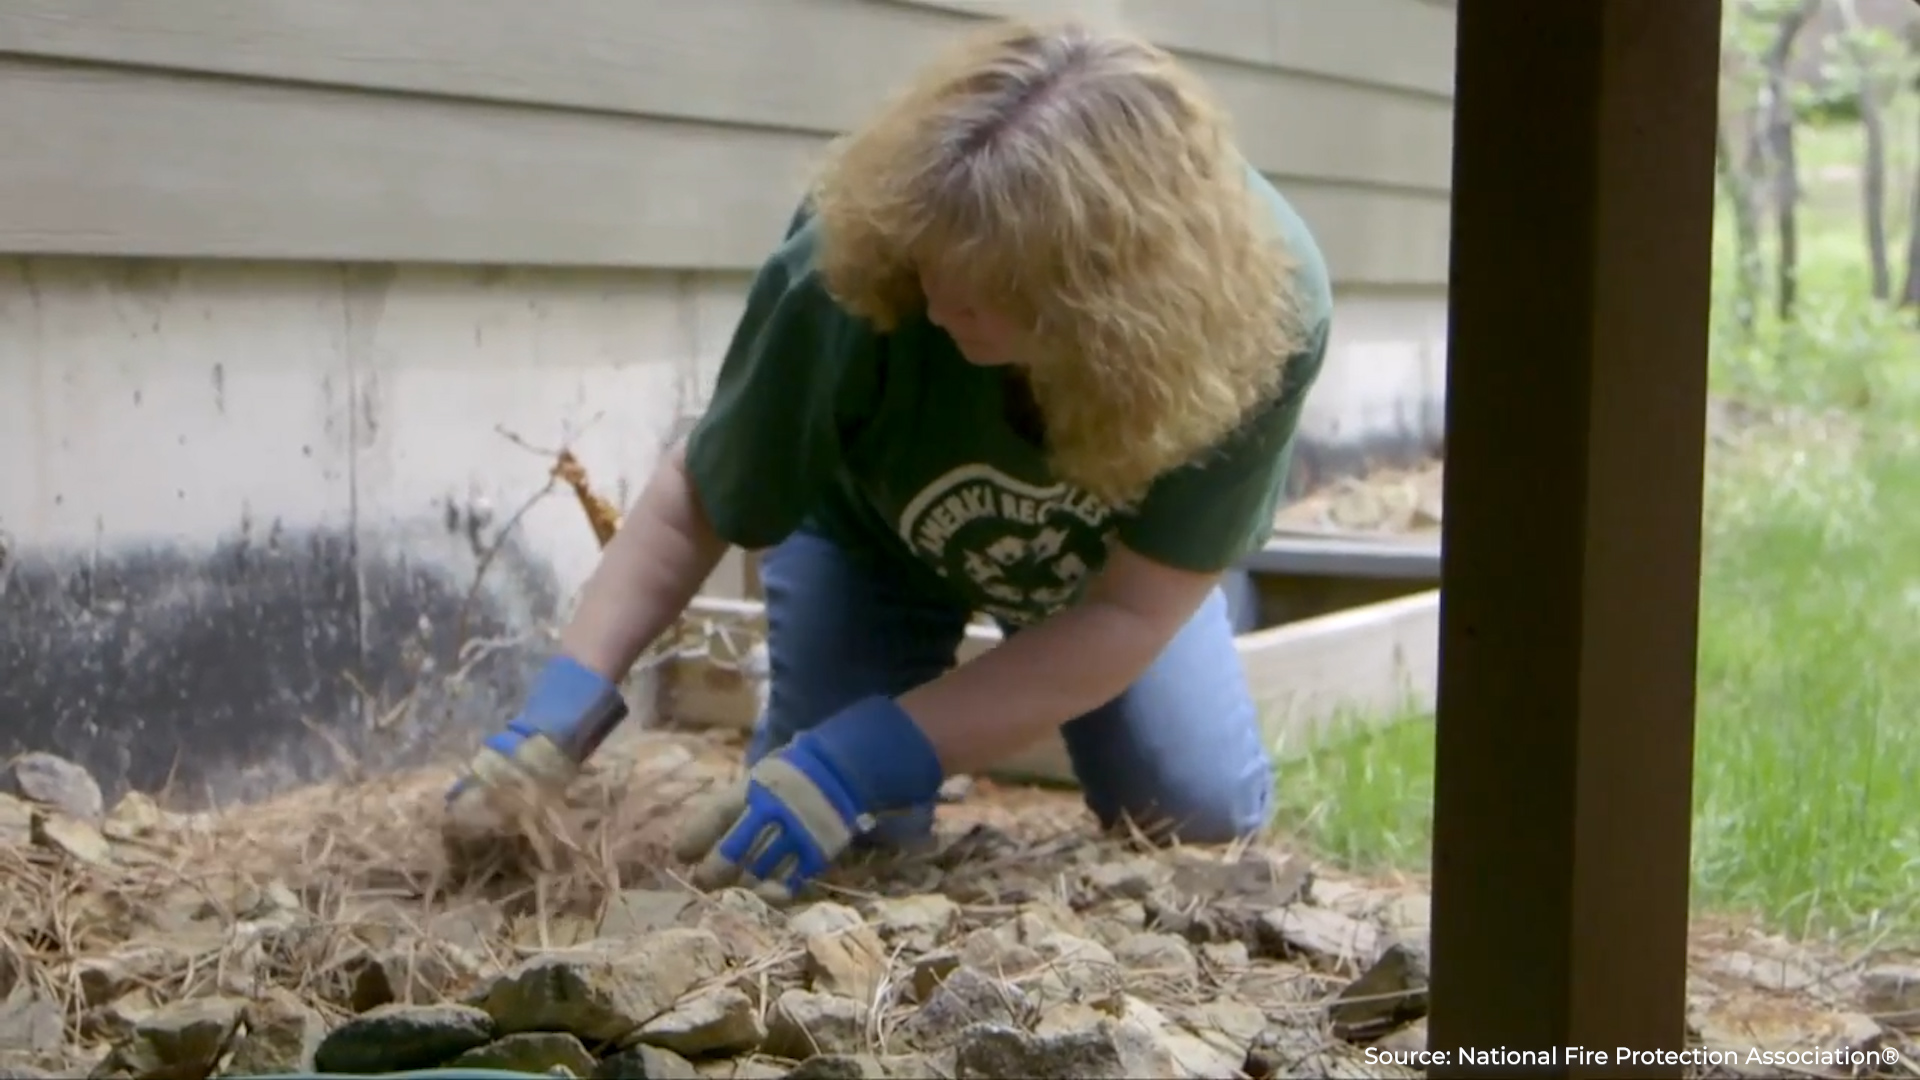
To prevent your deck from igniting and spreading fire to your home, do not use the area under decks as long-term storage.
- It is best practice to store items long-term either indoors or at least 30 feet from the home if possible. It is also a good habit to avoid storing any items under your deck, even temporarily, and to consider this area as part of your home ignition zone.
- If not possible, on days with Red Flag warnings (when there is high fire danger), plan to move any items temporarily stored beneath the deck―as well as outdoor furniture and other items that may be on top of your deck―indoors, into your garage, or at least 30 feet from your home. (But be mindful not to place them near your neighbors.) However, note that this is not ideal as it wastes valuable time if a fire develops near you and evacuation is necessary.
Cost: sweat equity (DIY)
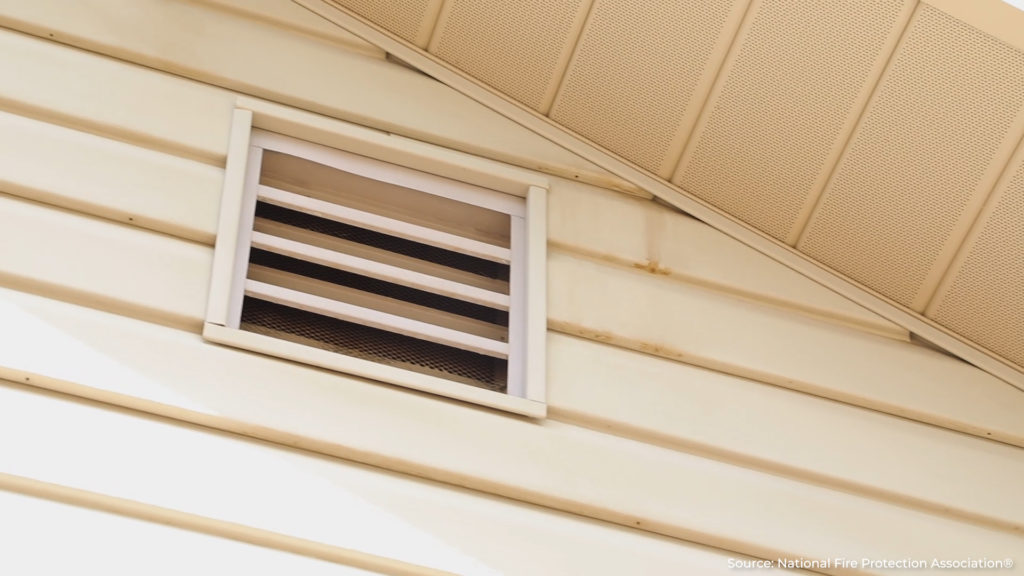
Add or upgrade your vent screens
-
-
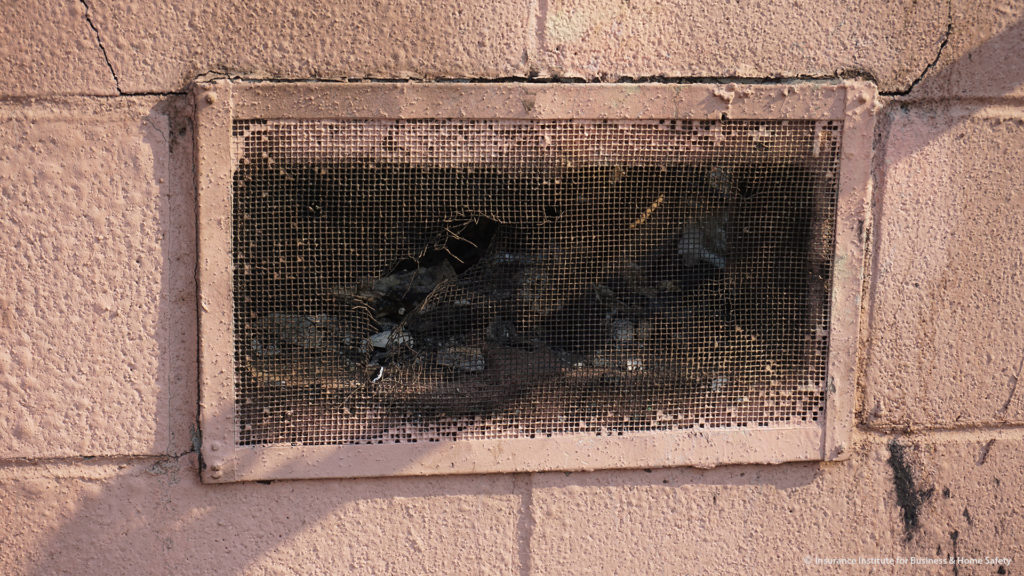
Damaged vent -
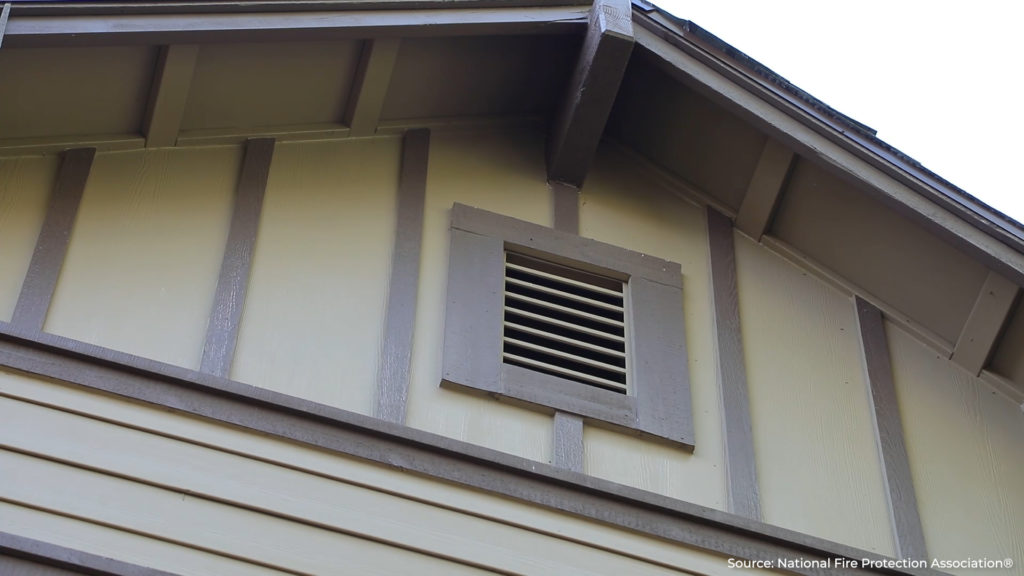
Flying embers can enter your home through vents in your attic, roof, gables, and crawlspace. Make sure vents have a metal screen 1/8 inch or finer to block embers from entering and igniting your home. Be sure to check screens periodically and remove accumulated debris, birds’ nests, etc.
Screen addition or replacement cost: less than $200 (DIY)
Keep Going!
Once you’ve addressed the critical actions above, keep going with these low-cost steps that further reduce your risk.
Remove back-to-back rows of fencing
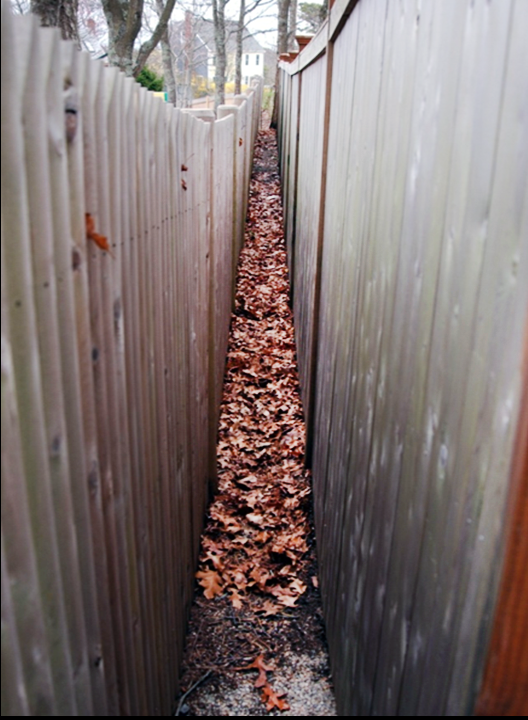
Photo credit: Jack Cohen
If you and your neighbor have fences that overlap, this creates a small gap between the fences where debris and embers can accumulate and ignite both fences. Additionally, the two fences together create more fuel for a more intense fire, increasing your home’s exposure to heat and burning embers.
Talk to your neighbor and work together to take down any sections that overlap.
Replace combustible fencing or gates attached to the home
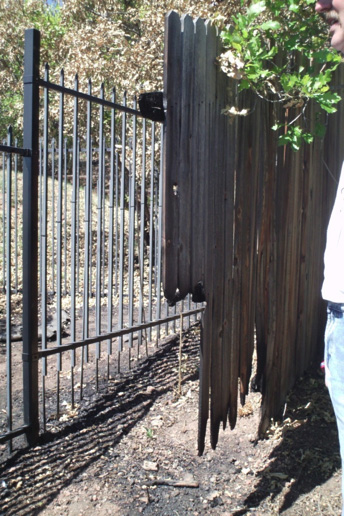
If you have fencing attached to your home that is made of combustible materials such as wood or plastic, replace at least the first 5 feet with metal or other noncombustible versions (including replacing combustible gates attached to your home). This helps stop fire from spreading from the fence to your home.
If possible, choose open or lattice fencing or gates instead of solid privacy panels to allow embers to pass through rather than accumulate. This adds even more protection to the 0–5 foot home ignition zone.
Cost: DIY or $500–$1,500
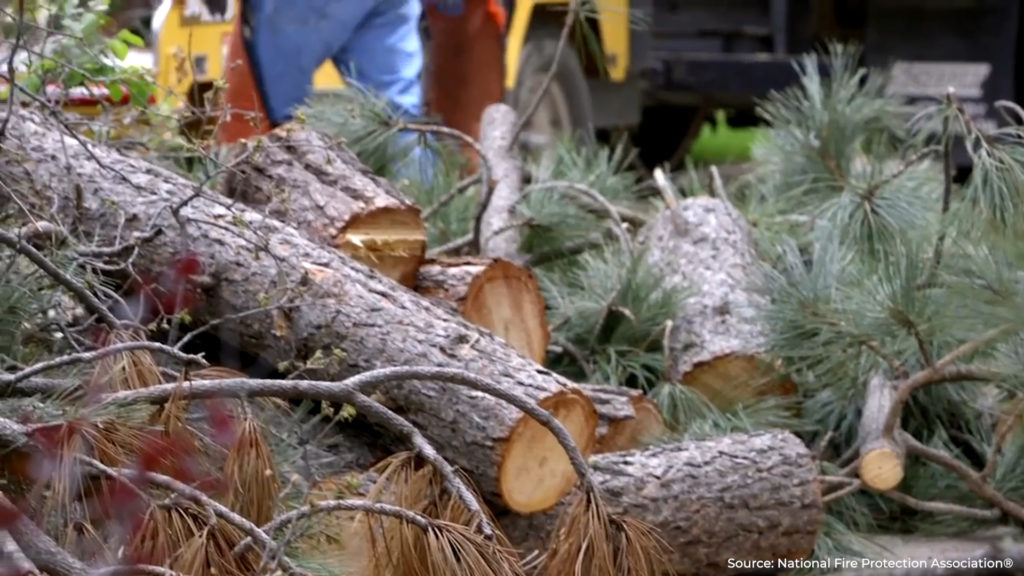
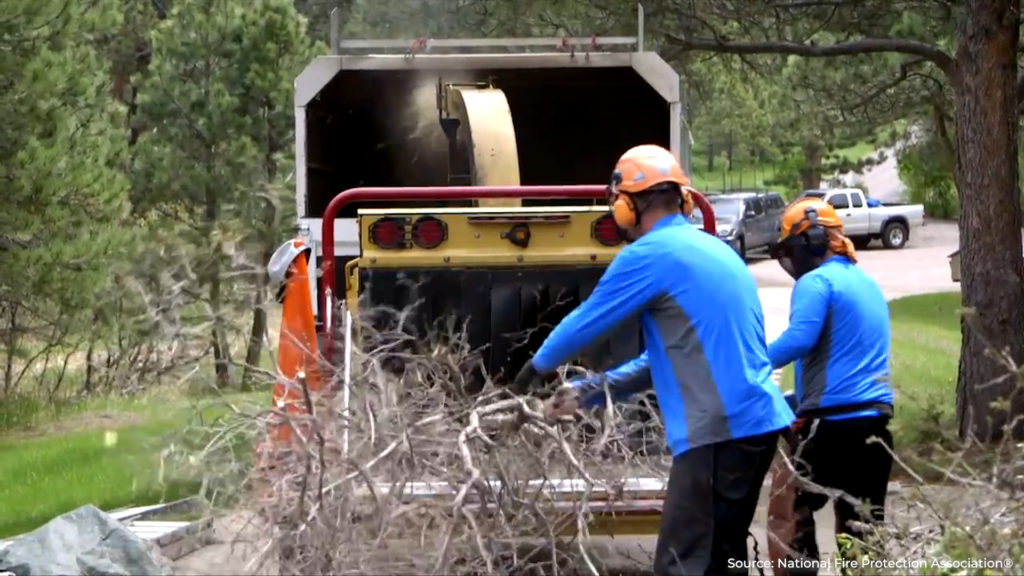
Clear yard debris
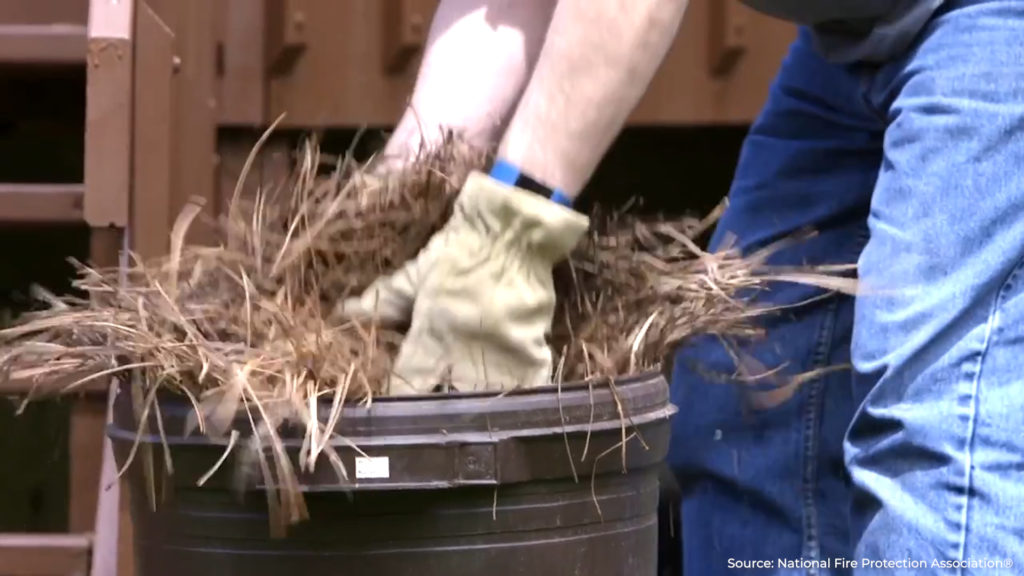
Make sure debris such as leaves and pine needles haven’t accumulated on your roof or in your gutters. Embers can easily start fires in these areas. Also make sure areas around fences and underneath gates are free of debris; this is another area where embers can collect.
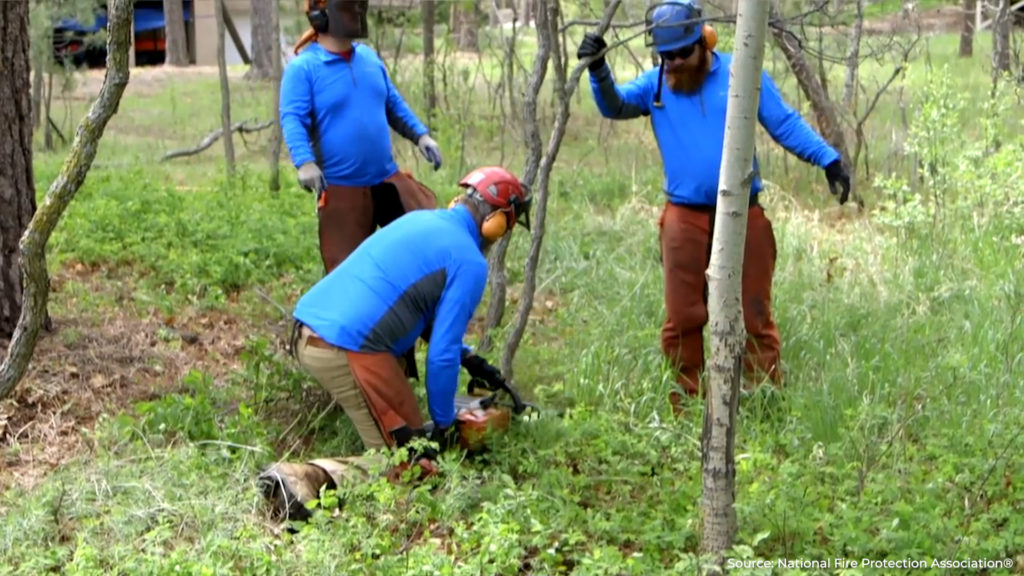
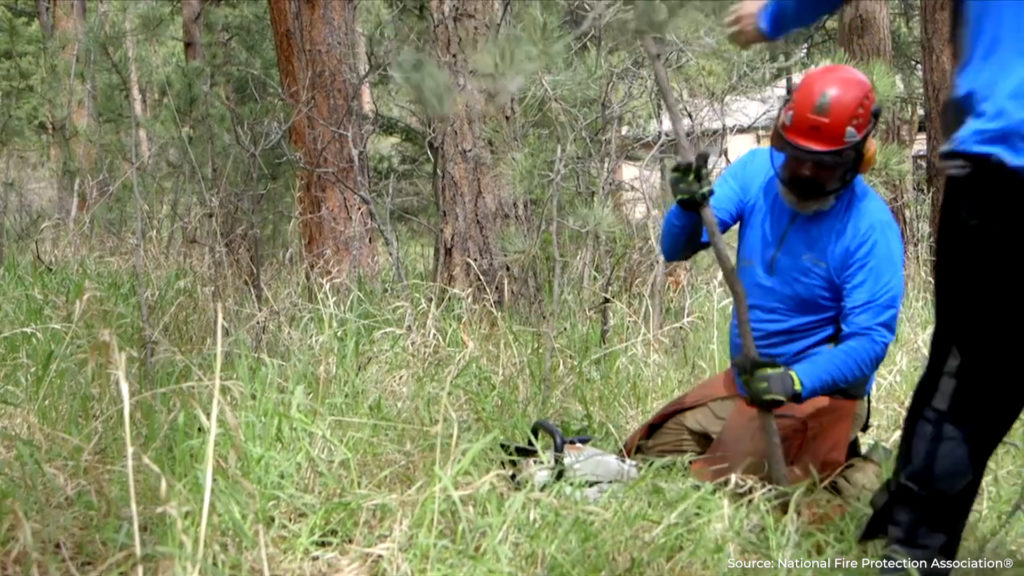
Trim trees
- Remove branches that may overhang your roof or gutters.
- Trim the bottom of trees so that all branches are at least 6 feet from the ground and at least 3 times higher than any shrubs nearby.
- Trim upper branches of trees to ensure they are at least 10 feet away from branches of neighboring trees.
- Work with your neighbor to address trees near your property line that affect both properties.
Cost: DIY or $200–$500 per tree
Enclose low elevation decks
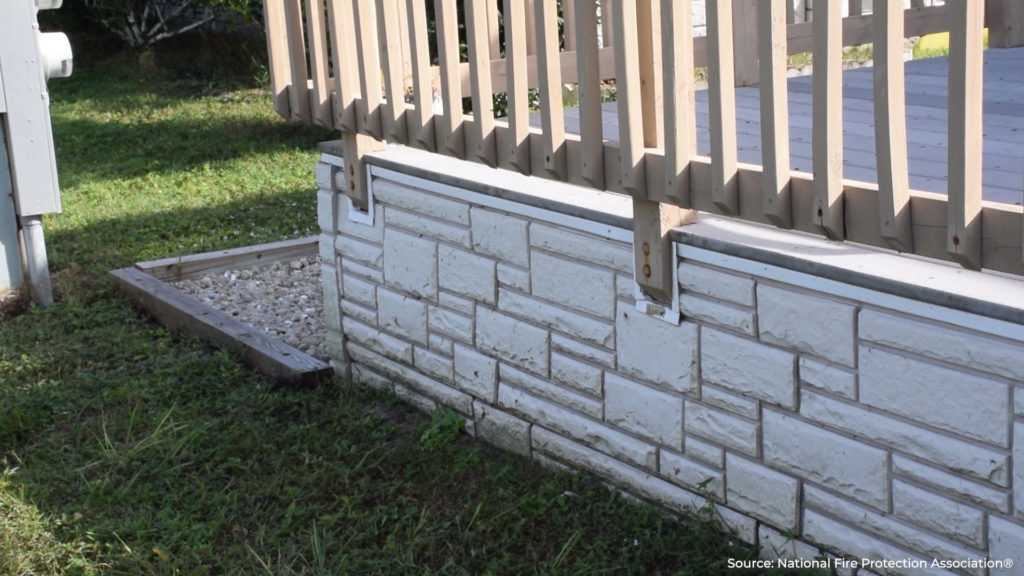
If your deck sits less than 4 feet above the ground, enclose it with a noncombustible material or use 1/8 inch or finer mesh. This will help keep debris out and keep embers from collecting underneath.
Cost: DIY or $500 – $1000
Level Up!
When time and budget allow, these next steps will address additional vulnerable areas of your home.
Move outbuildings away from your home
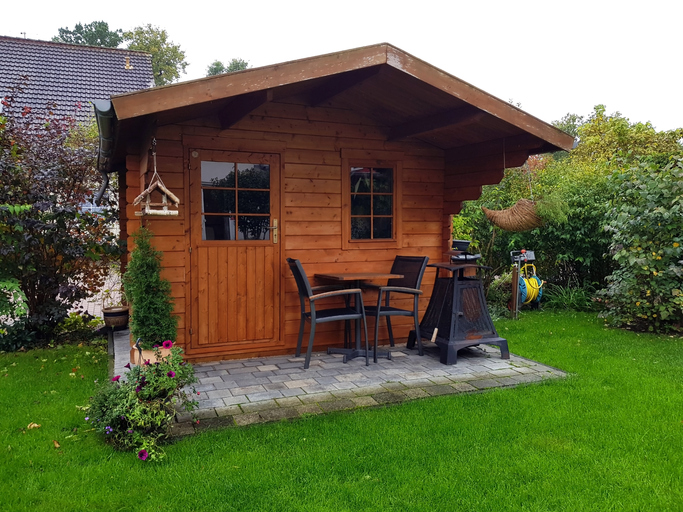
Make sure small structures like sheds, dog houses, and other outbuildings are at least 30 feet away from your home. (Metal sheds are an exception.) If they can’t be moved, consider retrofitting them with noncombustible materials or remove them completely. Combustible structures within 30 feet of your home should be maintained just like the 0–5 foot home ignition zone.
Replace your siding
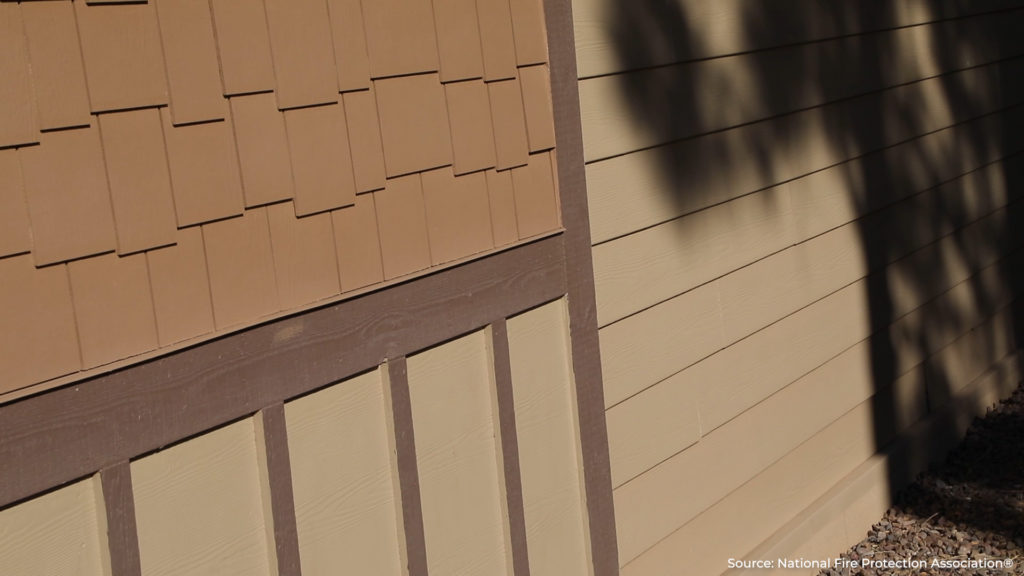
If you have combustible siding like un-treated wood or vinyl, the best practice is to replace it with a noncombustible material like concrete-fiber board, stucco, brick, or stone veneer.
- If you cannot replace all the siding, replace the lowest one foot of siding, ensuring the material extends below ground level, with brick or stone veneer and pay extra attention to the noncombustible home ignition zone.
- An exposed concrete foundation in the lowest foot provides similar risk reduction.
Cost for replacing just the lowest one foot of siding: $2,000–$5,000
Cost for concrete-fiber board: $8,000–$15,000
Cost for stucco: $20,000–$30,000
Cost for brick or stone veneer: >$40,000 (retrofit)
Enclose eaves
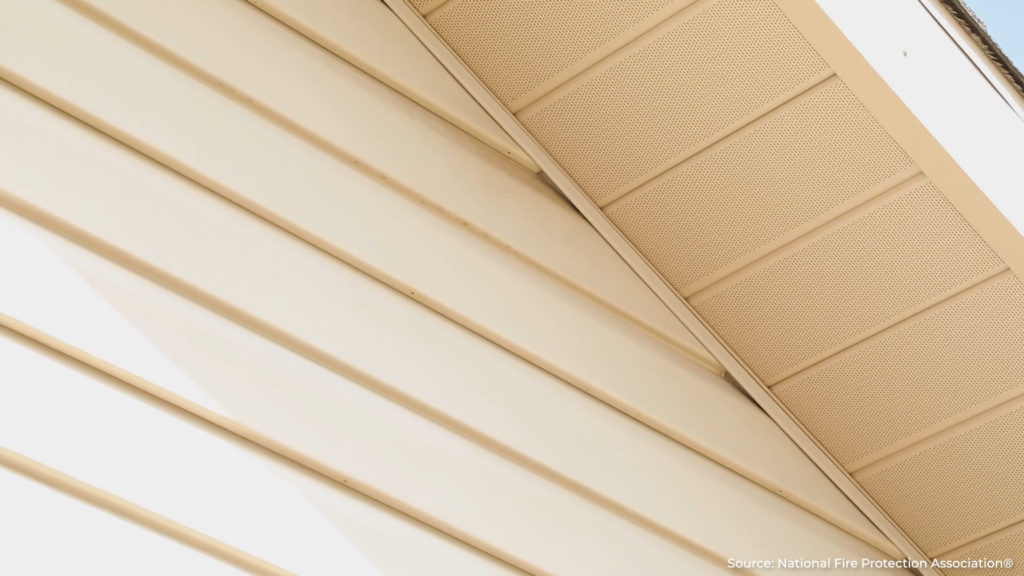
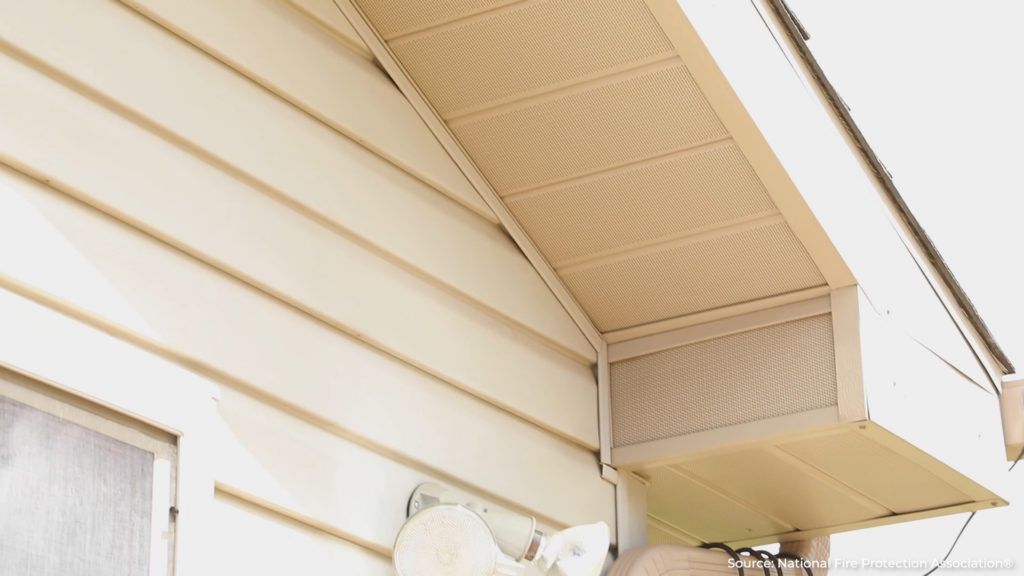
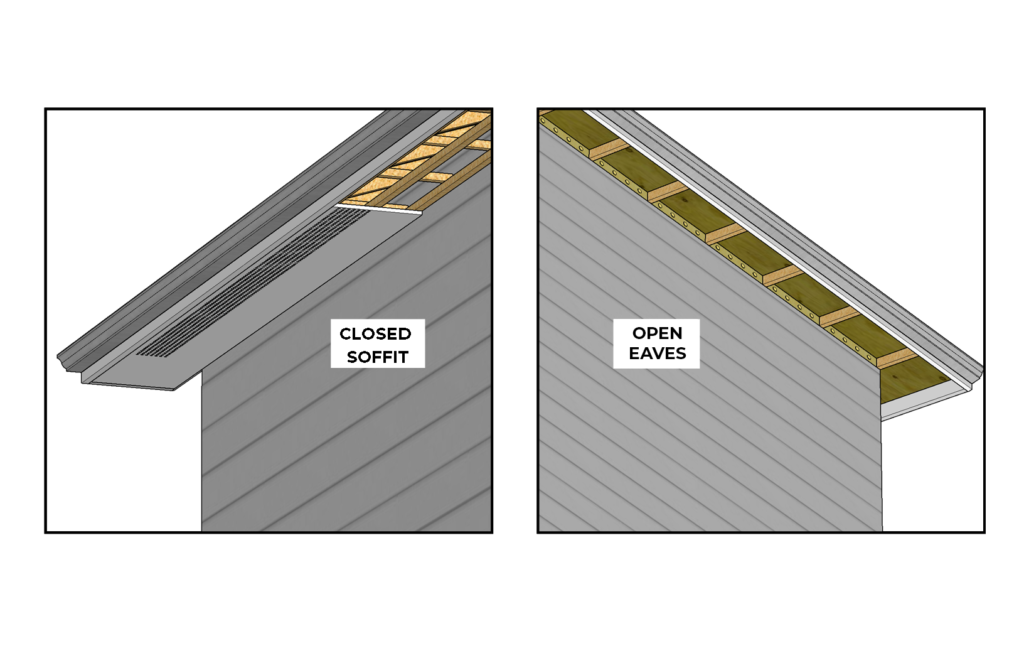
If your home has open eaves, box them in or install noncombustible soffit material, and install 1/8 inch or finer metal mesh in the vents. If fire reaches the area below an open eave, heat can build up and ignite exposed materials. Embers can also circulate here, increasing the chance they will enter your home if vents don’t have screens.
Boxed-in Eaves cost: $500–$1,500
Soffit cost: $2,000–$5,000
Enclose under bay windows
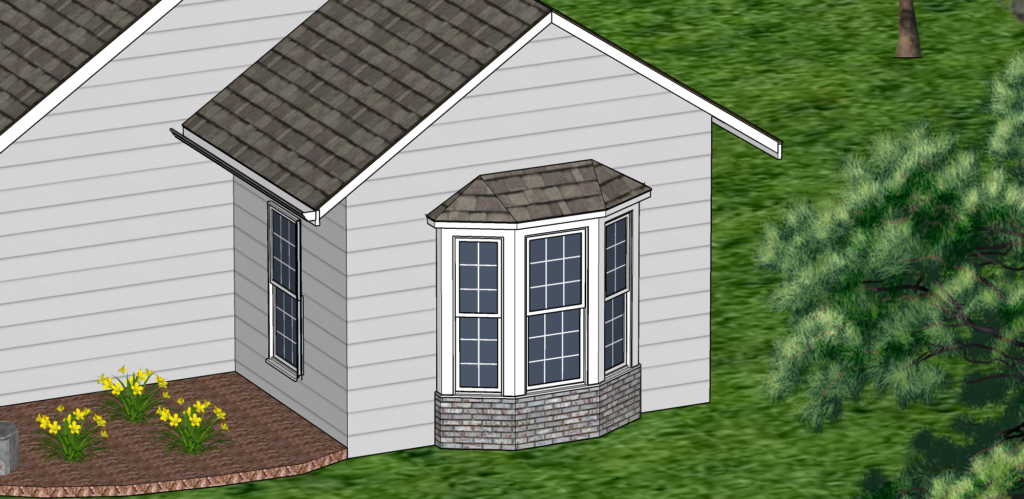
If you have a bay window on the ground level of your home, embers can collect and start fires in the area underneath. Heat from the resulting fire can then quickly build and spread fire to the wall. Enclosing the area beneath the bay window with a noncombustible siding keeps embers out and prevents fire from burning underneath.
Bay window enclosure cost: $500–$1,000
Go the Last Mile!
Consider these final actions for reducing your risk.
Build a fire-resistant deck
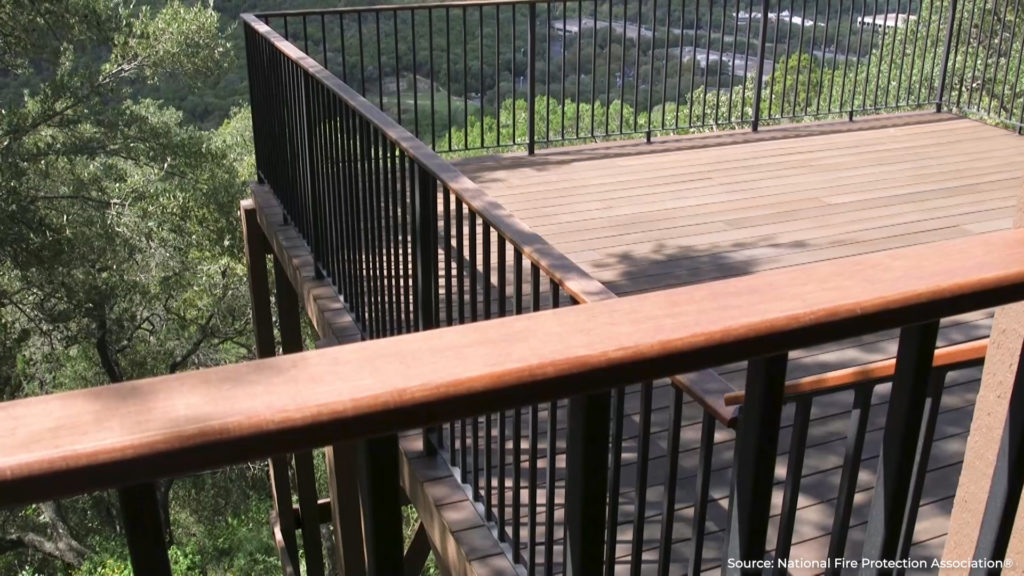
When building a new deck, use metal joists and a fire-resistant walking surface like fire-rated composite deck materials, aluminum, or lightweight concrete.
Cost: For 500 sq ft deck, approximately $9,000–$15,000 depending on complexity and footings
Note: Metal joists cost approximately 10%–15% more, but require less material, and general labor costs for experienced contractors working with metal substructures can be lower.
Upgrade windows
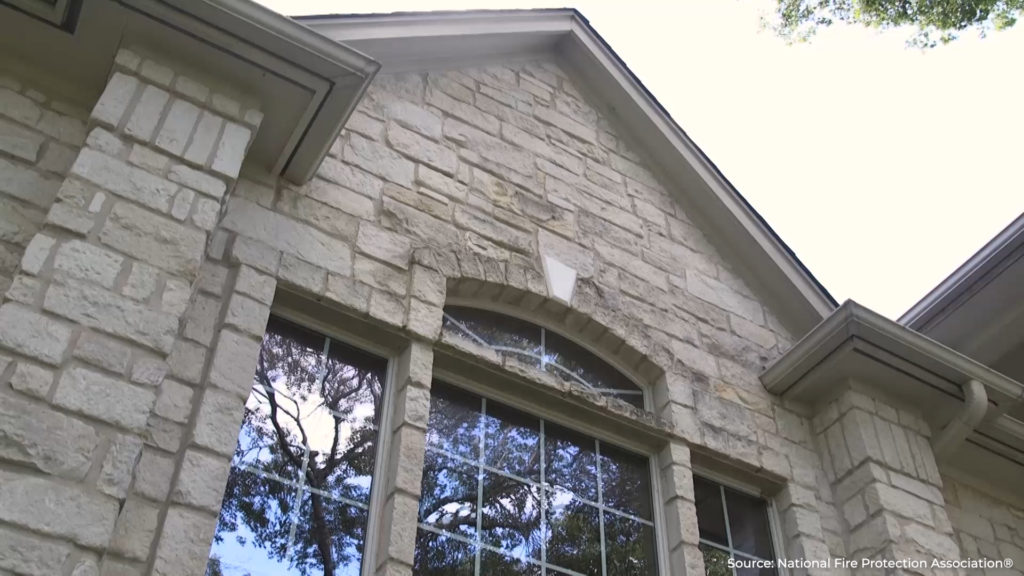
Replace your windows with ones with tempered glass, especially first floor windows on a multi-story home. In addition to tempered glass, vinyl-framed windows require reinforcing; therefore, if replacing windows with a vinyl frame, ensure the manufacturer is a member of the American Architectural Manufacturers Association (AAMA) which will guarantee this reinforcement is present. The AAMA site features a directory of certified products.

Cost: $500–$1,000 per window (including labor)
Extend your 0-5 foot home ignition zone
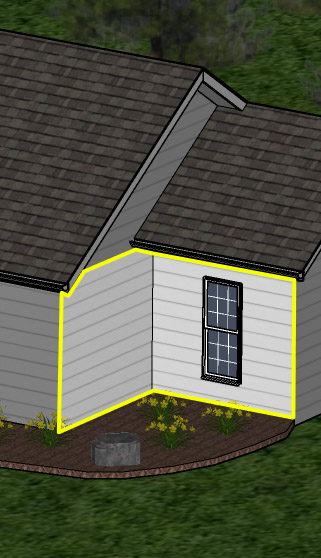
If your home has angled exterior walls, also called re-entrant corners, extend your home ignition zone outward from these areas and pay special attention to keep out materials that could ignite. During a fire, the flow of air around this corner can create intense fire whirls that spread extreme heat and ignite walls.
Cost: $500 of extra hardscape material
Share this guide with friends, family, and neighbors. Together, we can reduce our risk to wildfire!
ADDITIONAL RESOURCES
The post Wildfire Ready appeared first on DISASTERSAFETY.ORG.
Recent Posts
NOAA Weather
Tampa, FL
Last Updated on Jun 5 2024, 6:53 am EDT
Weather by NOAA
Current Conditions: Fair
Temp: 77°F
Wind: SE at 5mph
Humidity: 88%
Dewpoint: 73.0°F
 National Hurricane Center
- The Atlantic hurricane season runs from June 1st through November 30th. April 19, 2025The Atlantic hurricane season runs from June 1st through November 30th.
